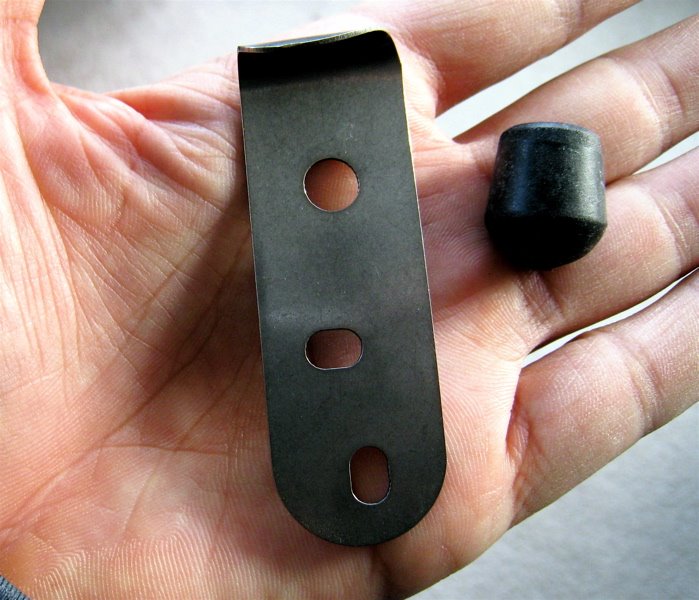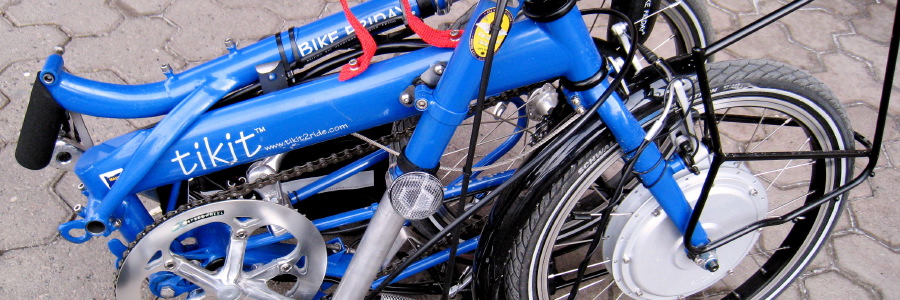
Hints and TricksPacking the tikitThe tikit can be packed in a 31-inch suitcase, and notably the Samsonite F'lite 31". Packing the tikit is made much easier if you have a few cloth bags, rags, and some plastic tubing. You can make this yourself or purchase a kit from Bike Friday. If you make it yourself, still consider purchasing (1) the crush protector and (2) wheel axle protectors from Bike Friday: these are inexpensive. Bike Friday also sells a complete packing system, including suitcase, Bike Friday has a instructional video showing a full packing procedure. Do not expect to pack nearly as fast as Rob English does in the video. Note that the tikit being packed in the video does not have a front or rear rack nor fenders. You will need to remove racks and fenders prior to packing (they can be fit into the suitcase with some cleverness). You may wish to add a rubber foot to each free end of the rear rack to keep it from damaging anything. The bike is easier to pack if the tires are deflated, particularly if the bike has large tires such as Greenspeed Scorchers. Tool Sizes for the tikitThe tikit has 2mm, 2.5mm, 4mm, 5mm, and 6mm hex bolts. If you install a kickstand, it will come with an 8mm hex bolt. The hyperfold cable is crimped with a hexagon-shaped covering which can be held onto with a 5.5mm wrench. The lock nuts on the hyperfold cable are 10mm nuts (and are metric). Adjusting the Seatmast CatchThe seatmast catch is made of spring steel and comes in two sizes, one sized for size-Small and size-Medium tikits and one for size-Large tikits. The catch can be too far away from the seatmast to catch its peg properly. Because the catch is spring steel (if yours is plastic, ask Bike Friday for a new one), you cannot bend it easily. But you can angle the catch out a bit by inserting a washer between the catch and the frame on the catch's upper hex bolt. Lowering the Front FenderThe front fender presses too tightly against the hyperfold cable, which can cause rubbing, wear, and squeaks. The fix is simple: lower the fender by a few millimeters. This is done by enlarging the fender bolt hole by just a bit, using a file, allowing the whole assembly to hang down slightly more. Adding Fender Washers to the HandleThe tikit's bright red cloth handle will eventually tear through its grommets. It is easy to prevent this: install wide fender washers just above the grommets. Replacing the Derailleur CableThe tikit's derailleur cable needs to be sightly longer than is met by standard derailleur cables: you'll probably need to install a tandem derailleur cable cut to size. Adding Better Rack TubingThe tikit's standard rear rack comes with inadequately long protective tubing, particularly near the seatmast. The tubing can slide down towards the mast, exposing a metal region which touches the ground when the bike is folded. This tubing is easily obtained at any hardware store: simply install longer pieces. The tikit's front rack (single-sided or double-sided) will quickly become scratched up from metal pannier hooks. Take a section of the same tubing as mentioned above for the rear rack, slice it open lengthwise, then slip it over the horizontal top portion of the rack. This trick is also helpful for the standard tikit rear rack, which likewise can be scratched from metal pannier hooks. |
the tikit wiki |